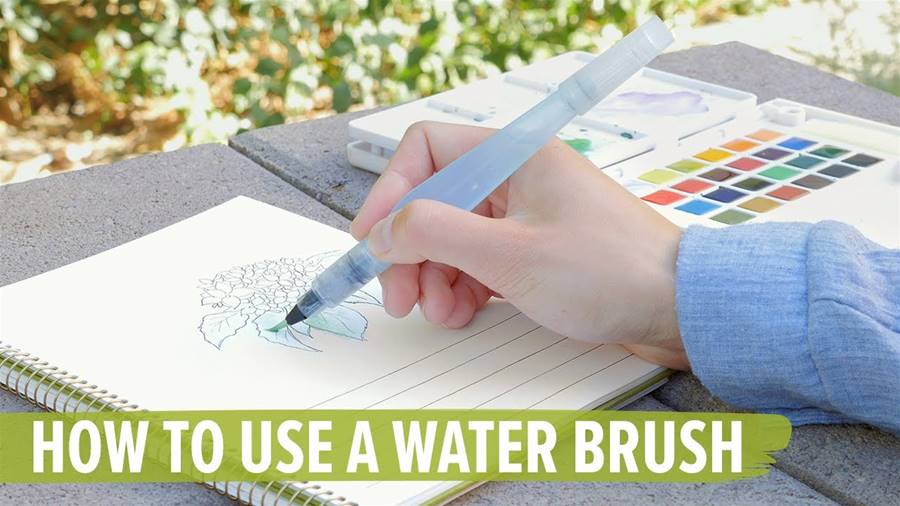
A water brush is a versatile tool that can be used for various art and calligraphy projects. It consists of a brush tip attached to a reservoir that can be filled with water. This eliminates the need for a separate water container when working with watercolors or inks. In this article, we will discuss how to effectively use a water brush to enhance your artwork.
To begin, start by filling the reservoir of the water brush with water. Unscrew the brush tip section and carefully fill it using either a tap or a water dropper.
It is important not to overfill the reservoir, as it may leak or cause excessive water flow. Once filled, securely screw the brush tip section back on.
When using the water brush for watercolor painting, squeeze the reservoir gently to allow a controlled flow of water onto the brush tip. Depending on the desired effect, you can vary the pressure applied to the reservoir. Light pressure will result in a fine stream of water, while increased pressure will create a bolder flow. This feature allows for easy blending of colors on the canvas.
The water brush can also be used to dilute watercolor paints for lighter shades and to create gradients. Simply touch the brush tip to the edge of the color you wish to dilute, and the water will mix with the paint on contact. This technique provides a seamless and smooth transition from one shade to another.
For calligraphy or lettering projects, the water brush can be a great tool. It allows you to easily control the flow of water and achieve different line thicknesses.
The article is not finished. Click on the next page to continue.


