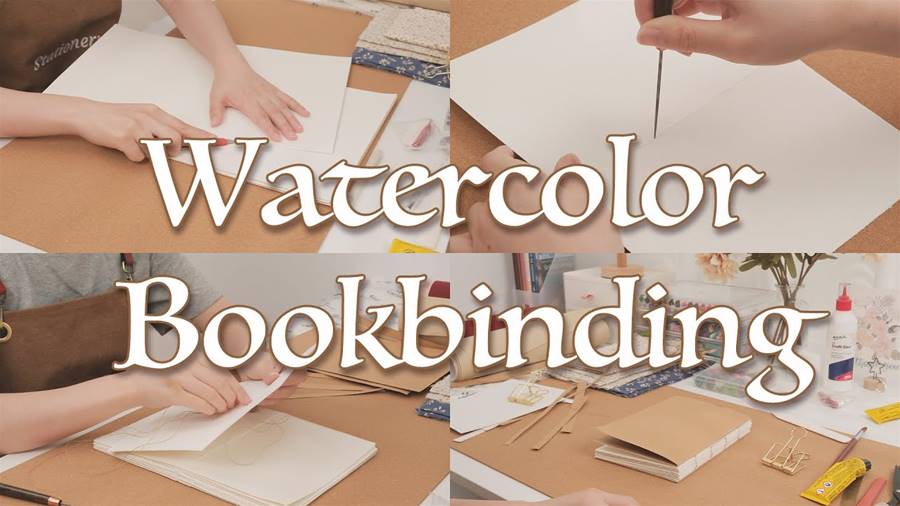
In this article, the author shares their experience of creating their first DIY watercolor sketchbook by explaining the step-by-step process of making a watercolor sketchbook. The main idea of the article is to provide a detailed guide on how to make a watercolor sketchbook from scratch.
The author begins by mentioning their love for watercolor painting and fascination with bookbinding. They express their desire to combine these two interests by creating their own watercolor sketchbook. The article then proceeds to explain the materials needed for this project, which include watercolor paper, a hardboard, a bone folder, an awl, a needle, thread, and a ruler.
Next, the author describes the cutting and folding process for the watercolor paper. They explain that the paper should be cut into equal-sized sheets and folded in half to create a double-folded page. These folded pages are then stacked and pressed firmly to create a clean and aligned binding edge.
Moving on, the author explains the importance of creating holes along the binding edge. They advise using an awl to make evenly spaced holes, ensuring that enough holes are created to sew the pages together securely.
Once the holes are created, the author proceeds to demonstrate the sewing process, using a needle and thread to weave in and out of the holes, ultimately binding the folded pages together.
After completing the sewing, the author suggests creating a protective cover for the sketchbook. They recommend using a hardboard, cut to the same size as the folded pages, as the cover. The cover is then attached to the binding edge using the same sewing technique as before.
To finish off the sketchbook, the author emphasizes the importance of using a bone folder to press down on the binding edge, ensuring a neat and secure finish. They also mention the possibility of adding embellishments or personal touches to the cover to make it unique and visually appealing.
In conclusion, this article serves as a helpful guide for individuals interested in creating their own watercolor sketchbook. The author shares their experience and expertise, providing step-by-step instructions on how to cut and fold the paper, create holes along the binding edge, sew the pages together, attach a protective cover, and finish off the sketchbook.
By following these instructions, readers can successfully make their own DIY watercolor sketchbook and enjoy the process of combining their love for watercolor painting with bookbinding.